Hello Everyone
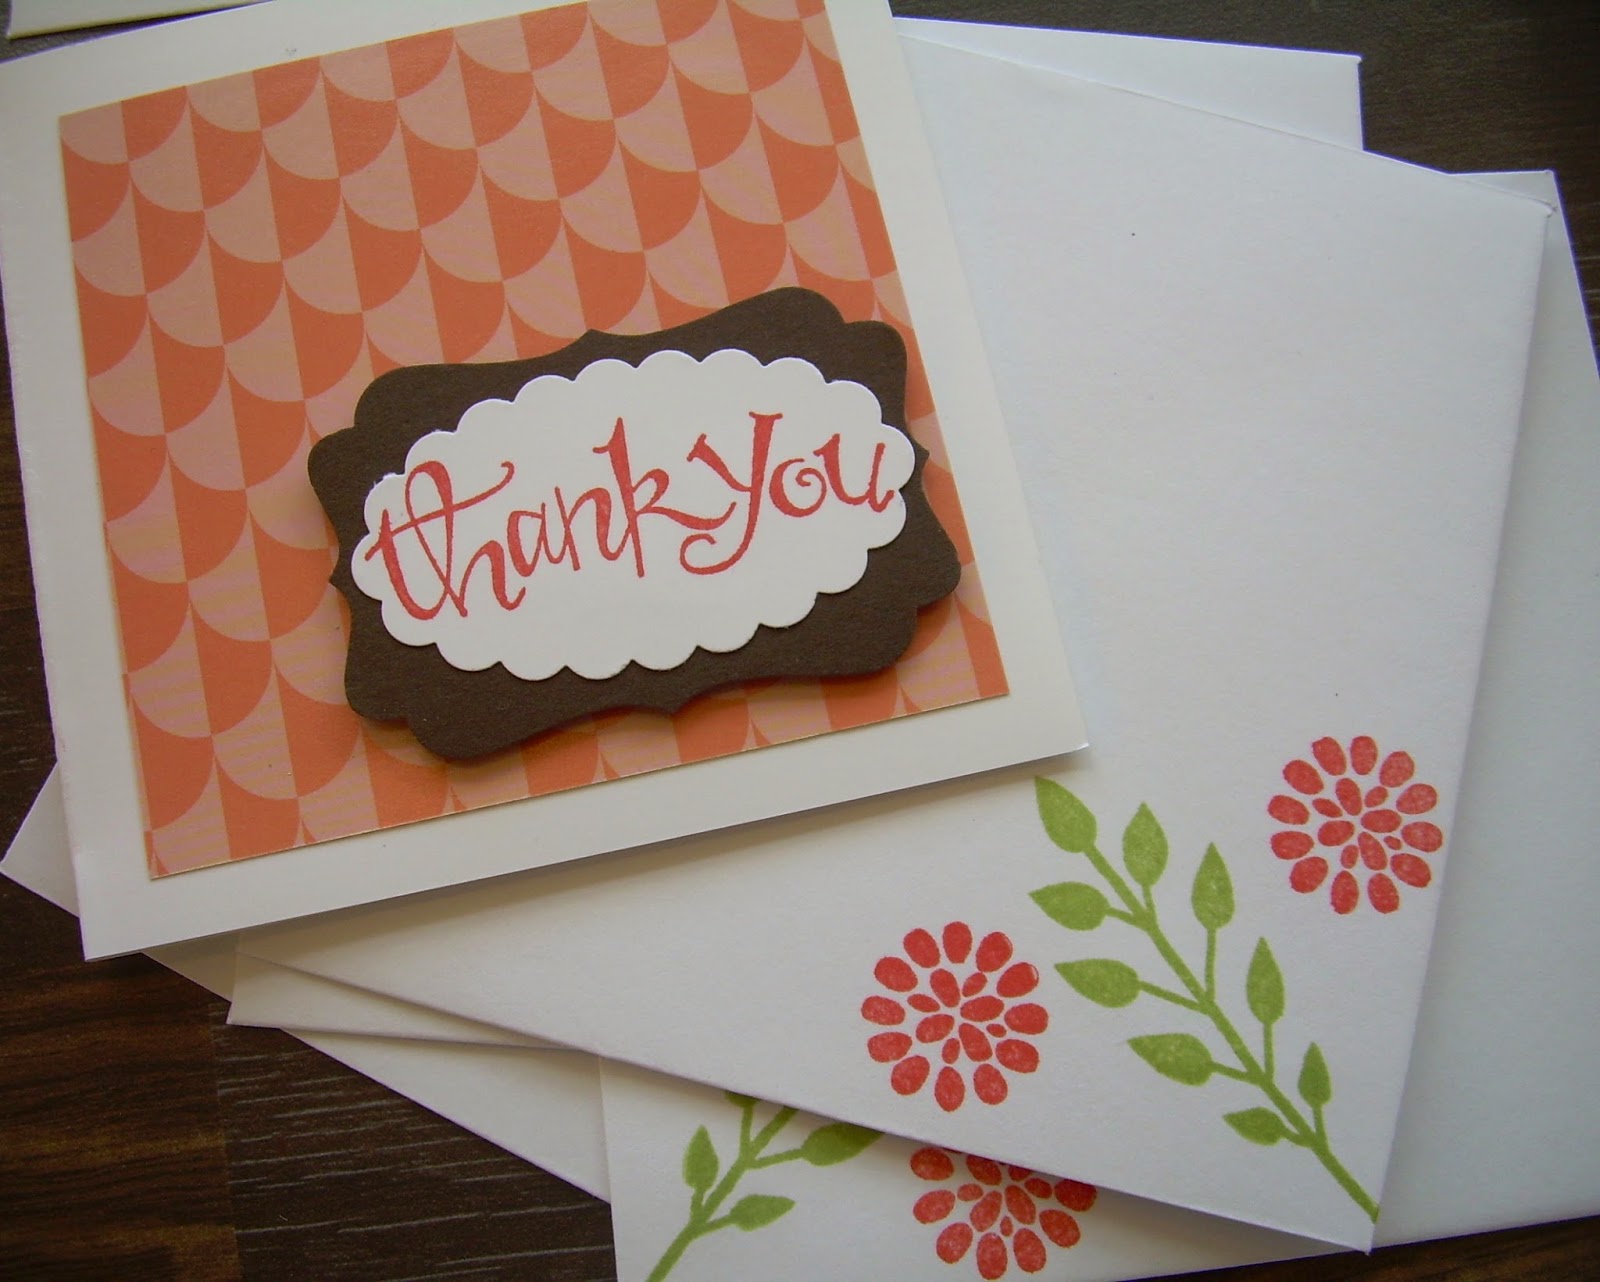
For today I am sharing some simple thank you cards I made recently. Did you know I give a thank you card with every order at a party or class?
This set was made using some beautiful Designer Paper squares - I picked the stunning Gold Soiree paper (be quick if you want some - is on the retirements list!) It has metallic elements and is so pretty.
The greeting stamp is from Sassy Salutations and the envelopes are stamped with images from the Flower Patch stamp set.
Hope you like :)
Love Elizabeth X
Showing posts with label Decorative Label punch. Show all posts
Friday, 15 May 2015
Saturday, 13 April 2013
Oh, Hello Thank You Card
Hello Everyone
Today's project features the Core'dinations Cardstock in Primrose Petals. I started by running it through the Big Shot with the Honeycomb Embossing Folder. Usually I would use no tabs, but in this case I used tab one on the Big Shot. This means that the embossing is extra deep and you can actually gently tear along the edges of the honecomb shapes to separate them, as you see below. I layered them up on Naturals White cardstock.
Using the Sanding System from Stampin' Up!, I sanded the top to reveal the lighter layer below and make the honeycomb pop.
The greeting and flower come from the Oh, Hello stamp set. I used the Decorative Label punch to create layers for the greeting.
Love Elizabeth X
Today's project features the Core'dinations Cardstock in Primrose Petals. I started by running it through the Big Shot with the Honeycomb Embossing Folder. Usually I would use no tabs, but in this case I used tab one on the Big Shot. This means that the embossing is extra deep and you can actually gently tear along the edges of the honecomb shapes to separate them, as you see below. I layered them up on Naturals White cardstock.
Using the Sanding System from Stampin' Up!, I sanded the top to reveal the lighter layer below and make the honeycomb pop.
The greeting and flower come from the Oh, Hello stamp set. I used the Decorative Label punch to create layers for the greeting.
Love Elizabeth X
Sunday, 24 March 2013
Welcome Baby Card
Hello Everyone
A little card I made for a neighbour who had just had a little girl. I do like making new baby cards - especially in pink! You can make them as pretty as you like.
I figured out this design for a pram using the decorative label punch, four circle punches, a scallop circle and lots of pearls!
Love Elizabeth X
A little card I made for a neighbour who had just had a little girl. I do like making new baby cards - especially in pink! You can make them as pretty as you like.
I figured out this design for a pram using the decorative label punch, four circle punches, a scallop circle and lots of pearls!
I ran a piece of Whisper White cardstock through the Big Shot with the Elegant Bouquet Embossing Folder. I layered up the pram and finished with the That's The Ticket stamp set from the Spring/Summer catalogue, cut out with the matching Ticket Builder Punch.
Hope you like it!
Love Elizabeth X
Saturday, 14 July 2012
Fabulous Friend Gift Box
Hello Everyone
Today I am sharing a pretty gift box that I have been demonstrating at some of my recent workshops. It is so easy to make with our new Simply Scored tool - and the whole box only uses one piece of A4 card.
I used the Petite Petals wheel to create a Crumb Cake ink background on Pool Party cardstock. After folding the box, I created a border for the flap using the Scallop Trim Border Punch. With a strip of Island Indigo card I repeated the border to create a double edge effect.
The tags are one of those items easily missed from the Stampin' Up! catalogue, but are really sweet for this sort of project. I stamped and attached a flower to match the greeting. The greeting itself comes from the Oval All stamp set, which co-ordinates perfectly with our Large Oval and Scallop Oval punches.
Love Elizabeth X
Today I am sharing a pretty gift box that I have been demonstrating at some of my recent workshops. It is so easy to make with our new Simply Scored tool - and the whole box only uses one piece of A4 card.
I used the Petite Petals wheel to create a Crumb Cake ink background on Pool Party cardstock. After folding the box, I created a border for the flap using the Scallop Trim Border Punch. With a strip of Island Indigo card I repeated the border to create a double edge effect.
The tags are one of those items easily missed from the Stampin' Up! catalogue, but are really sweet for this sort of project. I stamped and attached a flower to match the greeting. The greeting itself comes from the Oval All stamp set, which co-ordinates perfectly with our Large Oval and Scallop Oval punches.
I coloured the flowers with Pool Party, Lucky Limeade and Island Indigo markers and finished the project with Island Indigo ribbon.
I hope you like it. :)
Love Elizabeth X
Friday, 20 April 2012
Brayered Embossed Technique
Hello Everyone
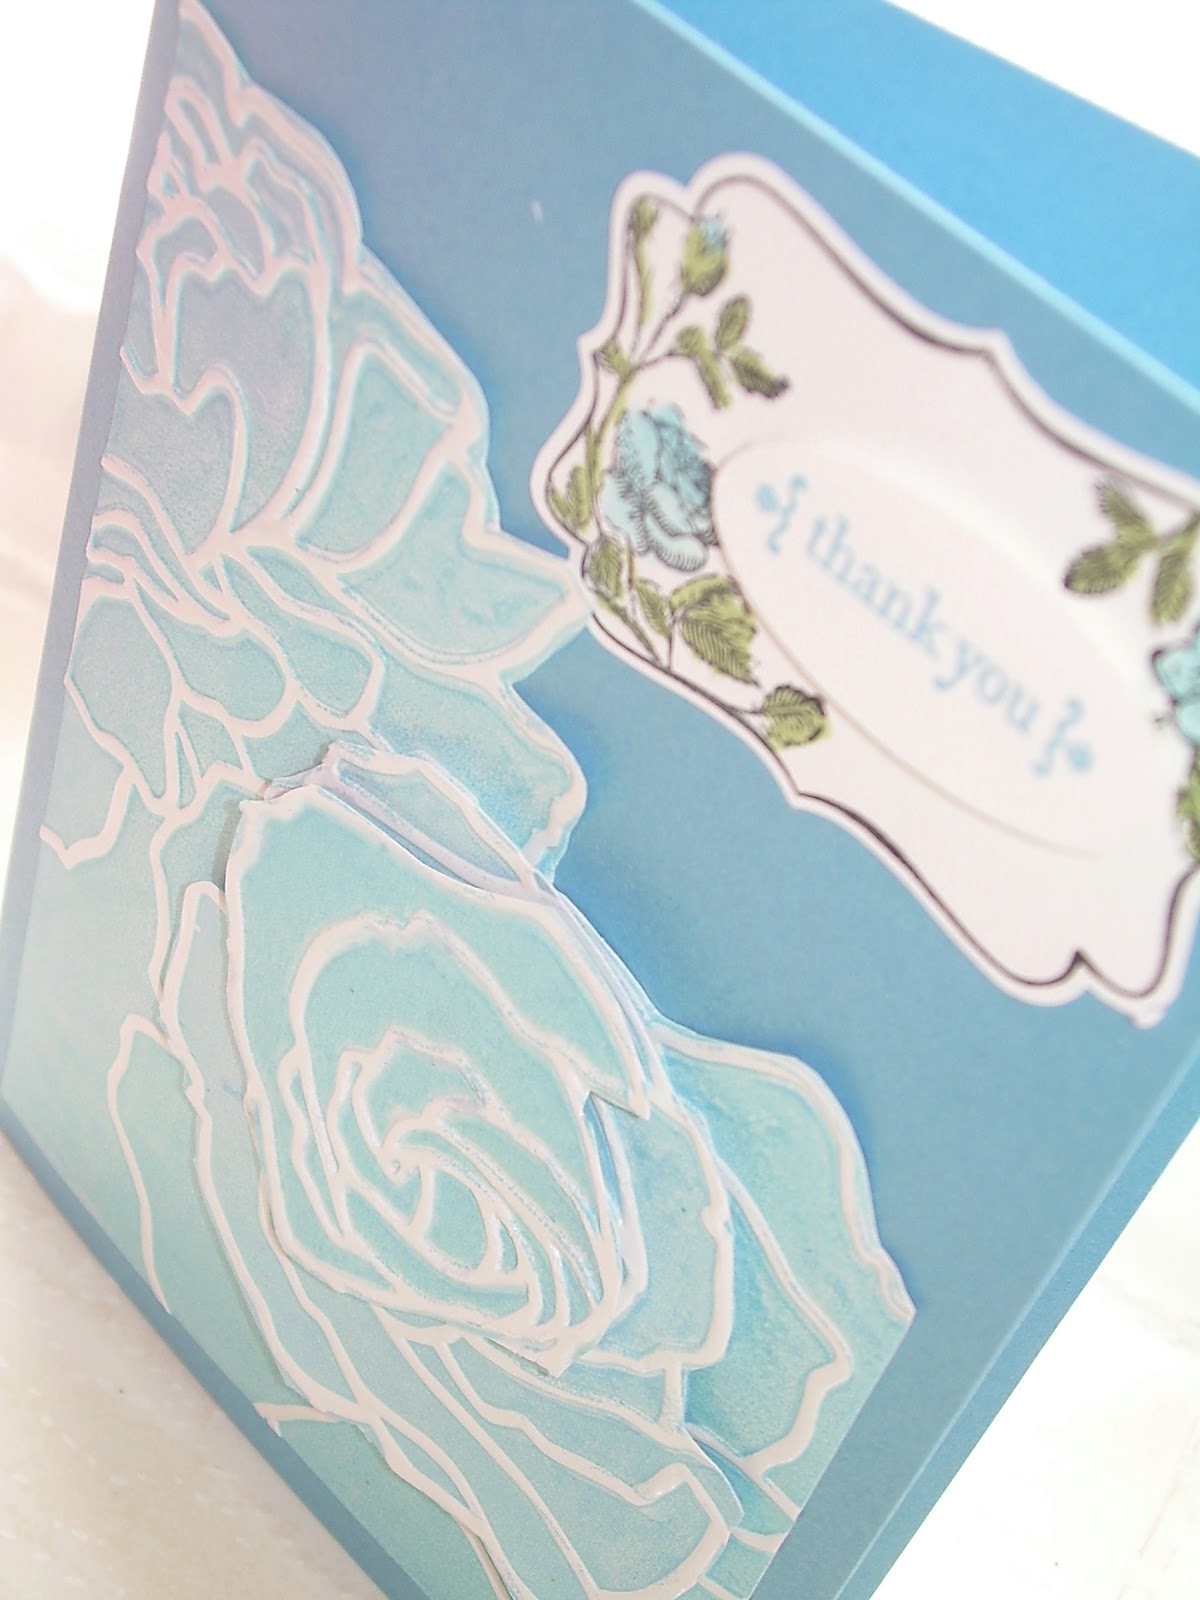
The cards for today both use a brayered dry embossed technique. To create these cards, I first brayered the inside of the Manhatten Flower Embossing Folder with a bold ink - Melon Mambo for the first card. I took a piece of Glossy White cardstock and after running it through the Big Shot, I wiped any excess ink from the embossed portion of the card.
I then cut out the flowers, (I did an extra one and created some further dimension too). This card is finished with the beautiful white Organza Ribbon.
For this second card I used Marina Mist as the colour to brayer. I made the rose using three layers of the Manhatten Flower image and the greeting is from the Four Frames stamp set, punched with the matching Decorative Label punch.
Why not have a go with this simple but effective technique.
Love Elizabeth X
The cards for today both use a brayered dry embossed technique. To create these cards, I first brayered the inside of the Manhatten Flower Embossing Folder with a bold ink - Melon Mambo for the first card. I took a piece of Glossy White cardstock and after running it through the Big Shot, I wiped any excess ink from the embossed portion of the card.
I then cut out the flowers, (I did an extra one and created some further dimension too). This card is finished with the beautiful white Organza Ribbon.
For this second card I used Marina Mist as the colour to brayer. I made the rose using three layers of the Manhatten Flower image and the greeting is from the Four Frames stamp set, punched with the matching Decorative Label punch.
Why not have a go with this simple but effective technique.
Love Elizabeth X
Wednesday, 30 November 2011
Top Note Gift Card Holder
Hello Everyone
Today I am sharing another of the projects we made during our November classes. This idea originally came from my lovely upline Amanda, and I changed the stamps and papers to come up with this idea.
The nice thing about this design, is that it is a card and gift card holder in one.
We made it using the new zingy Lucky Limeade cardstock and co-ordinating Designer Paper and the stamps are from Tags till Christmas and Oval All.
I managed to take some scissors to my reel of fabby Cherry Cobbler Scallop Dots ribbon - isn't it pretty?
Love Elizabeth X
Today I am sharing another of the projects we made during our November classes. This idea originally came from my lovely upline Amanda, and I changed the stamps and papers to come up with this idea.
The nice thing about this design, is that it is a card and gift card holder in one.
We made it using the new zingy Lucky Limeade cardstock and co-ordinating Designer Paper and the stamps are from Tags till Christmas and Oval All.
I managed to take some scissors to my reel of fabby Cherry Cobbler Scallop Dots ribbon - isn't it pretty?
Love Elizabeth X
Wednesday, 12 October 2011
Forever Young in Island Indigo
Hello Everyone
As promised, I am back with a project made using the beautiful Forever Young stamp set. I chose to use the Island Indigo ink and cardstock, one of our new In Colors for this year.
Within the stamp set you get the clock image, the frame, the two silhouettes and a beautiful tree with a girl on a swing.
I used a punched portion of the tree and swing stamp for this next card in the same colour way - you can see I also used the matching designer paper called Timeless Portrait - I love the way you can match everything with Stampin' Up! goodies. :)
If you look closely you will see that I used the punched out piece of this card in the one at the top - crafters never waste anything!
The greeting in this one is from Curvy Verses and the top one from Oval All.
Hope you like them.
Love Elizabeth X
As promised, I am back with a project made using the beautiful Forever Young stamp set. I chose to use the Island Indigo ink and cardstock, one of our new In Colors for this year.
Within the stamp set you get the clock image, the frame, the two silhouettes and a beautiful tree with a girl on a swing.
I used a punched portion of the tree and swing stamp for this next card in the same colour way - you can see I also used the matching designer paper called Timeless Portrait - I love the way you can match everything with Stampin' Up! goodies. :)
If you look closely you will see that I used the punched out piece of this card in the one at the top - crafters never waste anything!
The greeting in this one is from Curvy Verses and the top one from Oval All.
Hope you like them.
Love Elizabeth X
Monday, 5 September 2011
3D Springtime Vintage
Hello Everyone
Well if you visited a couple of days ago, you will know the retirement list is out, (see it by clicking on the 'last chance list' tab at the top), and it is your last chance to get some of our much-loved stamps, accessories and designer papers. The designer papers I am most sorry to wave goodbye to are Springtime Vintage - I have loved using these this year.
So today I am sharing two 3D projects that I made using this beautiful paper during the year.
First is a little gift bag made with the Scallop Circle die and the Big Shot. I used the Large Oval and Scallop Oval punches to make the handles and the Four Frames stamp set and Decorative Label punch for the sentiment.
It was finished with the lovely Crumb Cake Seam Binding ribbon.
I used two of those same products to make this little gift box. The Scallop Circle die this time makes the lid and the Decorative Label punch makes the DSP panels around the edge. I closed the ribbon with a fancy silver brad from the Hodgepodge Hardware - which is also being retired this year.
The sentiment comes from Oval All and was coloured using blender pens and inks.
So if you neeeeed those Springtime Vintage papers - grab them while you can!
Well if you visited a couple of days ago, you will know the retirement list is out, (see it by clicking on the 'last chance list' tab at the top), and it is your last chance to get some of our much-loved stamps, accessories and designer papers. The designer papers I am most sorry to wave goodbye to are Springtime Vintage - I have loved using these this year.
So today I am sharing two 3D projects that I made using this beautiful paper during the year.
First is a little gift bag made with the Scallop Circle die and the Big Shot. I used the Large Oval and Scallop Oval punches to make the handles and the Four Frames stamp set and Decorative Label punch for the sentiment.
It was finished with the lovely Crumb Cake Seam Binding ribbon.
I used two of those same products to make this little gift box. The Scallop Circle die this time makes the lid and the Decorative Label punch makes the DSP panels around the edge. I closed the ribbon with a fancy silver brad from the Hodgepodge Hardware - which is also being retired this year.
The sentiment comes from Oval All and was coloured using blender pens and inks.
So if you neeeeed those Springtime Vintage papers - grab them while you can!
Thursday, 16 June 2011
Concord Crush Trio
Hello Everyone
Another three sample cards from me today - this time all based on the yummy Concord Crush cardstock and ink...
All these cards feature stamp sets from the Stampin' Up! Mini Catalogue - which you can see in full by clicking the link at the top of this blog.
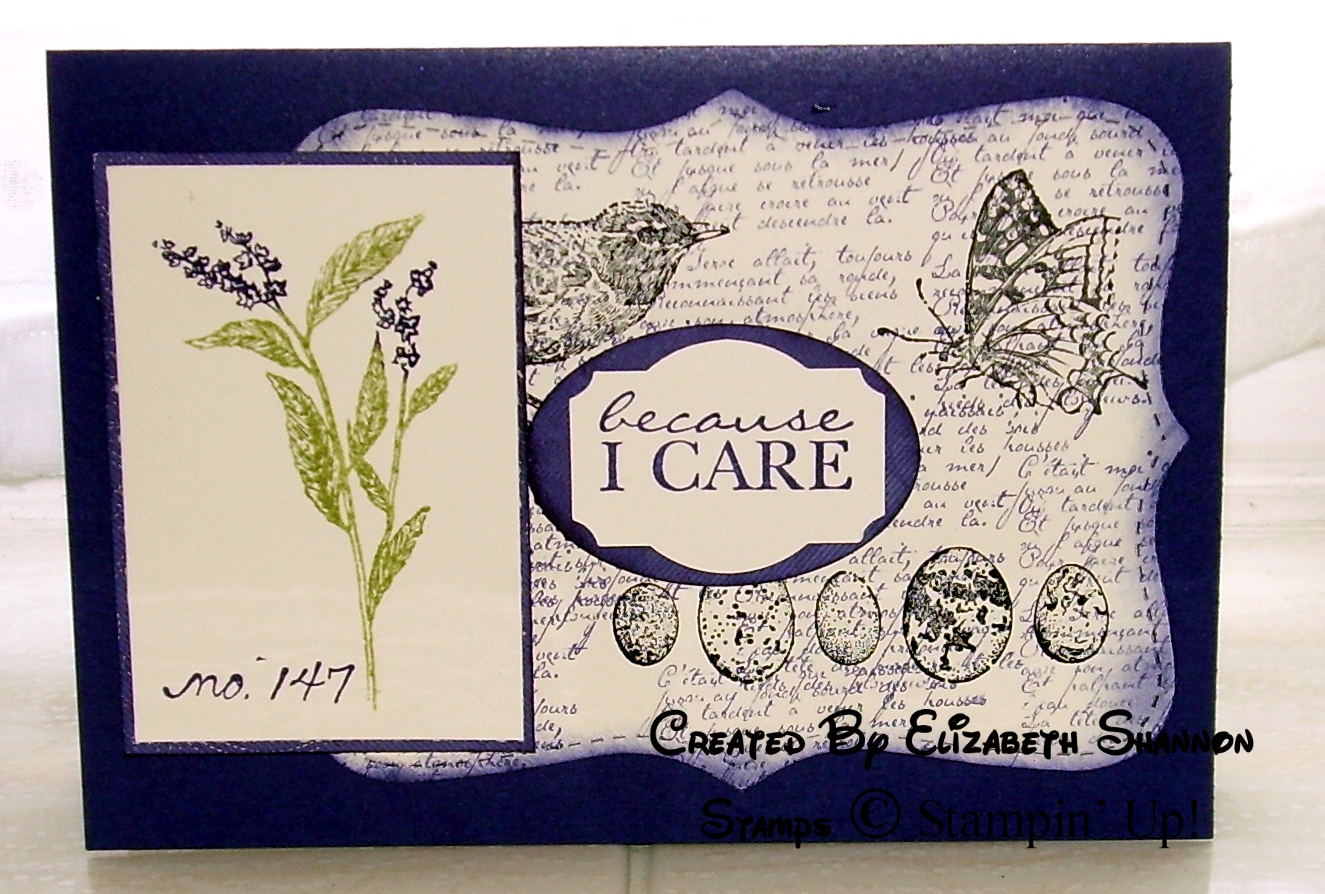
The first one is the stamp set I fell in love with as soon as I saw it. It is called Nature Walk and has a feel of botanical drawings...
I started by cutting a Whisper White top note shape with my trusty Big Shot stamped all over using the script stamp from French Foliage, (more of that set coming up). I stamped the eggs, bird and butterfly images in Basic Grey ink and used the marker to stamp technique to stamp the flower.
This card started with the frame from the Notably Ornate stamp set. The topper is done with the frame from Four Frames, which matches the Decorative Label punch. The three little images are from Itty Bitty Bits, which also go with a trio of matching punches.
Now for my favourite stamp set from the Mini Catalogue - French Foliage. You know I almost didn't buy this set - it was springtime and it seemed such an autumn set - but I am SO glad I ended up getting it. It is the most forgiving set I have ever stamped with - you just stamp and everything looks fabby! And it works in every colour too - which you wouldn't imagine.
I used a little Newprint DSP and cut it with the Top Note die. I also cut several circles with the Circle #2 die.
I then used the back of the smaller circle in each case to create a mask and daubed to make a frame. Then I stamped to my hearts content with those lovely French Foliage images.
Hope you like my trio of cards - which is your favourite?
Another three sample cards from me today - this time all based on the yummy Concord Crush cardstock and ink...
All these cards feature stamp sets from the Stampin' Up! Mini Catalogue - which you can see in full by clicking the link at the top of this blog.
The first one is the stamp set I fell in love with as soon as I saw it. It is called Nature Walk and has a feel of botanical drawings...
I started by cutting a Whisper White top note shape with my trusty Big Shot stamped all over using the script stamp from French Foliage, (more of that set coming up). I stamped the eggs, bird and butterfly images in Basic Grey ink and used the marker to stamp technique to stamp the flower.
This card started with the frame from the Notably Ornate stamp set. The topper is done with the frame from Four Frames, which matches the Decorative Label punch. The three little images are from Itty Bitty Bits, which also go with a trio of matching punches.
Now for my favourite stamp set from the Mini Catalogue - French Foliage. You know I almost didn't buy this set - it was springtime and it seemed such an autumn set - but I am SO glad I ended up getting it. It is the most forgiving set I have ever stamped with - you just stamp and everything looks fabby! And it works in every colour too - which you wouldn't imagine.
I used a little Newprint DSP and cut it with the Top Note die. I also cut several circles with the Circle #2 die.
I then used the back of the smaller circle in each case to create a mask and daubed to make a frame. Then I stamped to my hearts content with those lovely French Foliage images.
Hope you like my trio of cards - which is your favourite?
Friday, 15 April 2011
Another April Wedding Project
Hello Everyone
As promised back with another wedding-flavoured project from our April class. This one was matching the little Baja Breeze favour box we made and features the first class outing for my Big Shot machine. (By the way, DH is calling it the Big Boy - he has heard about nothing else for weeks LOL)!
We used a simple fold by scoring down the front of the card half way across and then decorating the front facing portions using the hearts from Confetti - very wedding or anniversary apporpriate!
We cut a Top Note shape in Very Vanilla with the Big Shot, then stamped using Always Elegant, which makes a lovely wedding set. We added a couple of pearls, and finished with a couple of punches - the fabby Decorative Lable punch, which layers well with the Designer Lable.
Back with the final April class project soon...
Subscribe to:
Posts (Atom)