Showing posts with label Brayer. Show all posts

Tuesday, 3 November 2015

Saturday, 28 March 2015

Brayered Beauty

Hello Everyone

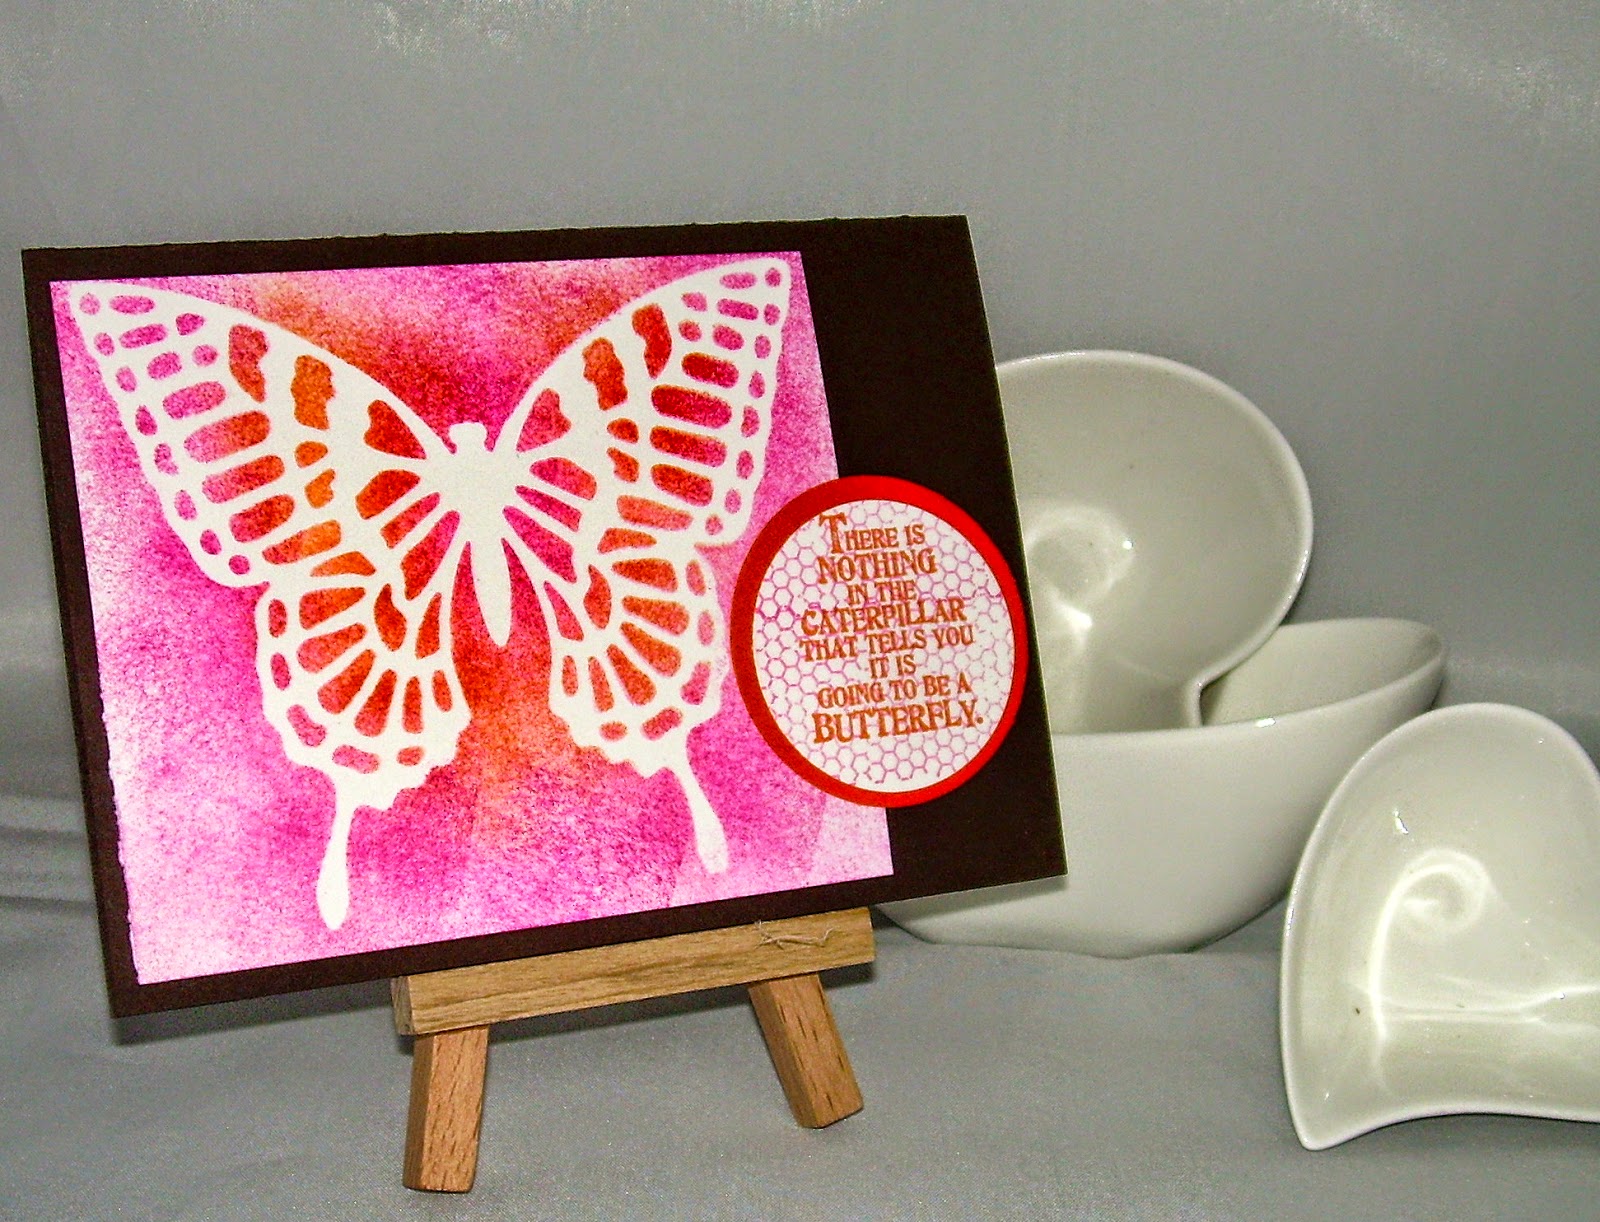
Today - as we are almost done with Sale A Bration 2015 - I thought I would share one last card made with the Irresistibly Yours designer paper.

I brayered over these pieces with Island Indigo, Bermuda Bay and Calypso Coral ink for this graduated effect. Of course I added a butterfly to one of them, but the other I left empty to show the beauty of this cardstock.


Do you prefer the butterfly or the plain one?

Love Elizabeth X
Parties? Classes? Want to become a demonstrator? 
If you have any questions - please contact me - I am here to help.

Wednesday, 4 March 2015

Bonus project - Pen Holder Swap

Hello Everyone

Today I am sharing some swaps that I made recently for my Stampin' Up! team.

I used two items you can receive free during Sale A Bration. The Irresistibly Yours Designer Series Paper starts as a white colour. You can use a sponge or brayer to add the ink colours of your choice. Here I went for Cherry Cobbler, Real Red and Strawberry Slush.


Inside the pens I added some Something Borrowed DSP. Then on the top of the boxes I stamped a greeting using the You Brighten My Day stamp set - another set you can choose for free. I finished the light bulb with Dazzling Diamonds. 


Sale A Bration finishes at the end of the month - so get in touch if you want to receive one or more of these lovely freebies. 


Love Elizabeth X

Tuesday, 3 February 2015

VIDEO Brayered Butterfly

Hello Everyone

Today's video shows how you can achieve this multi-tonal effect on the large butterfly from the Butterflies Framelits dies. While I was making this video, I decided I had to use the baking parchment butterfly I had cut - so scroll down to see what I did with it...


This is what I made with the baking parchment butterfly. I laid it on Whisper White and using it as a mask, I sponged over in Tangerine Tango and Melon Mambo ink. I loved how it came out :)


The motto of this creation is….crafters should never throw anything away!

Love Elizabeth X
Parties? Classes? Want to become a demonstrator? 
If you have any questions - please contact me - I am here to help.

Monday, 8 April 2013

VIDEO Reflection Technique

Hello Everyone

Today's video was a special request by Sandra. She wanted a reminder of how to create the reflection technique.


Why not have go at a reflection card today?

Love Elizabeth X

Tuesday, 12 February 2013

VIDEO By the Tide - Brayered!

Hello Everyone

Today's video features the stamp set I was most excited about in the new Spring/Summer catalogue. It is called By the Tide. I wanted to get a true 'underwater' look so decided to with a brayer.


So have I inspired you to get your brayer out and dust it off? Let me know.

Love Elizabeth X

Friday, 27 April 2012

Faux Tile Technique

Hello Everyone

Today I am sharing a project I taught at our April classes. We do a different technique each month and this one is the Faux Tile technique.

We started by decorating the background card, using the Very Vintage wheel and Rose Red ink on the Rose Red card - we also did some decoration on the envelope and inside of the card too.

Then using Whisper White card stock we scored inch squares, then brayered gently using Pink Pirouette ink. Next we stamped multiple images using Clearly For You making sure they went over the tile edges.


We finished with the Dotted Scallop Ribbon Border punch and the Eyelet Border punch and layered up a greeting on the matching Pool Party and Island Indigo cardstock.

The butterfly, greeting and background to the greeting also come from Clearly For You. We also used some beautiful Island Indigo ribbon and a couple of Basic Pearls.

Why not have a go with this technique next time you do some crafting?

Love Elizabeth X

Friday, 20 April 2012

Brayered Embossed Technique

Hello Everyone

The cards for today both use a brayered dry embossed technique. To create these cards, I first brayered the inside of the Manhatten Flower Embossing Folder with a bold ink - Melon Mambo for the first card. I took a piece of Glossy White cardstock and after running it through the Big Shot, I wiped any excess ink from the embossed portion of the card.

I then cut out the flowers, (I did an extra one and created some further dimension too). This card is finished with the beautiful white Organza Ribbon.


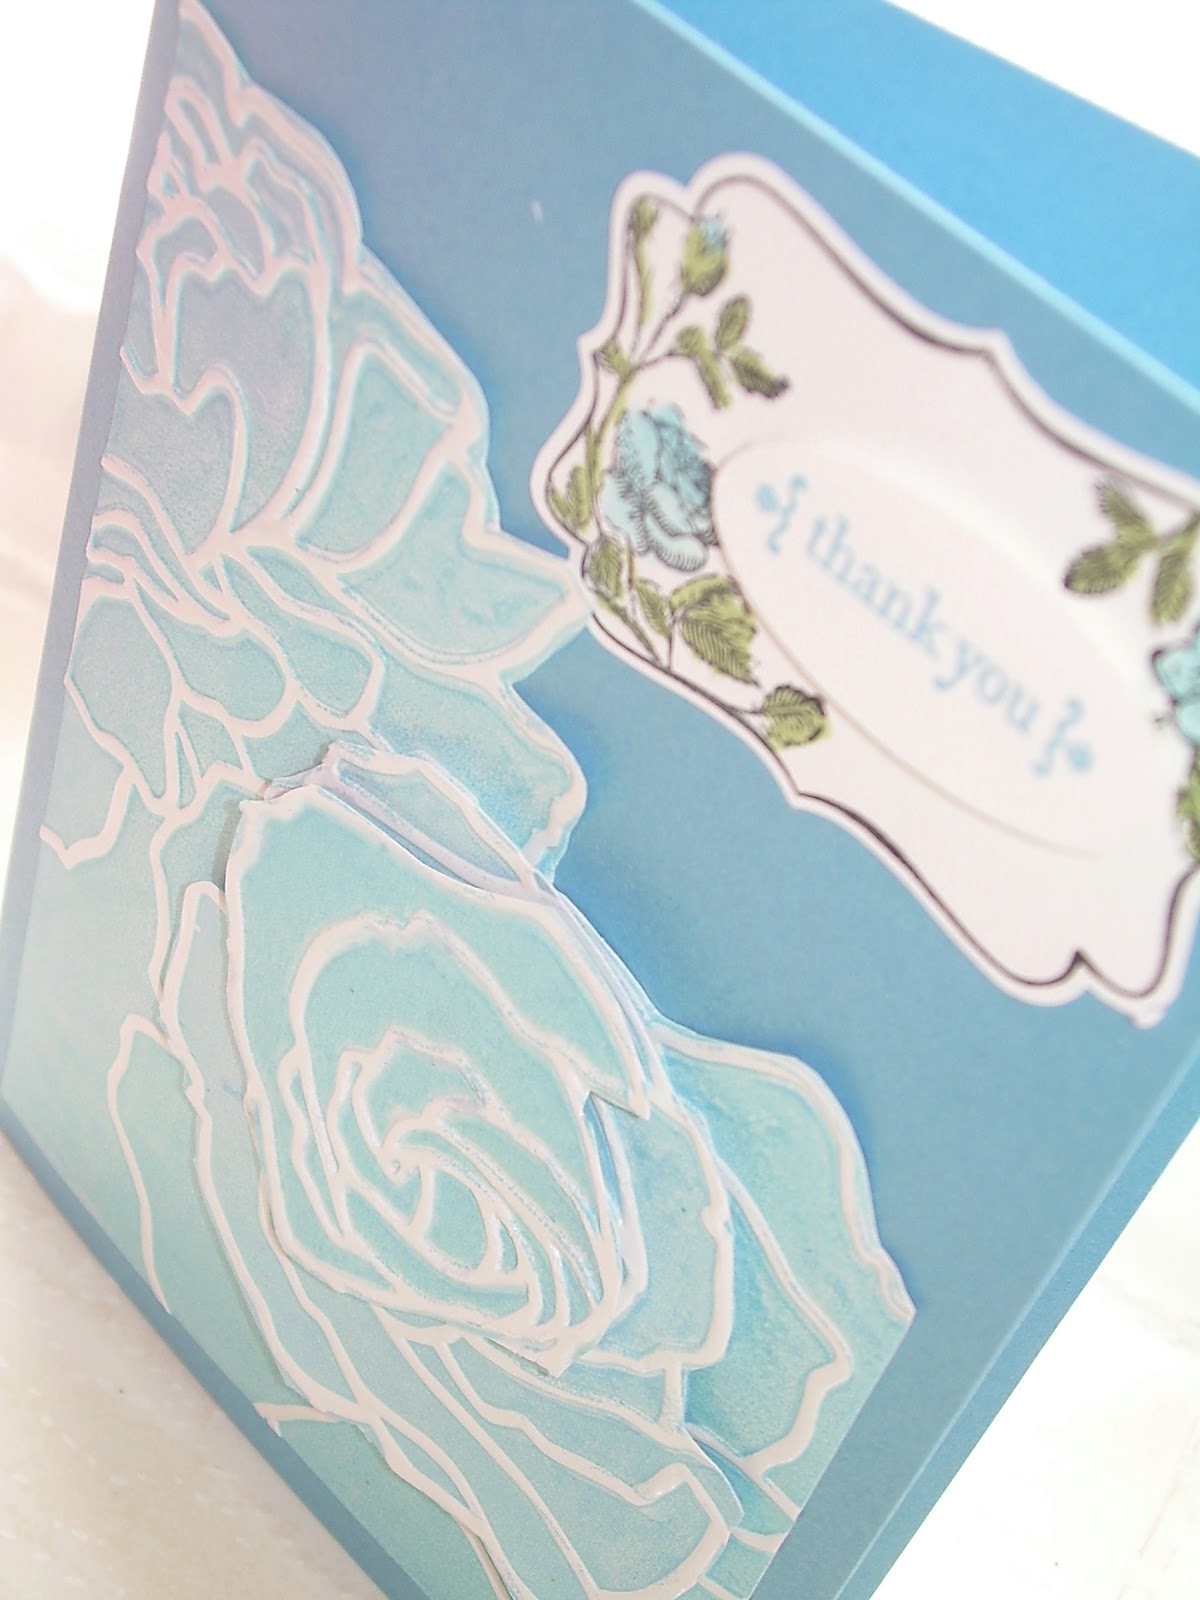
For this second card I used Marina Mist as the colour to brayer. I made the rose using three layers of the Manhatten Flower image and the greeting is from the Four Frames stamp set, punched with the matching Decorative Label punch.


Why not have a go with this simple but effective technique.

Love Elizabeth X

Monday, 23 May 2011

Emerging Colour

Hello Everyone

Today I am sharing a technique I demonstrated at my Customer Thank You Party. It is something that works really will with the glossy cardstock although the sample below was made with Whisper White card.

I started by stamping images from Artistic Etchings onto the white card. Next I inked up the Medallion background stamp with Versamark ink and stamped over the top of the coloured imanges.

I covered the card in Clear Embossing Powder and heat set the Medallion image. 


Next I applied Chocolate Chip ink with a brayer over the whole white card, wiping the excess off the embossed area with a tissue - and hey presto! - the Artistic Etchings images show through where the clear Medallion.

I enjoyed showing this technique - is it something you have tried?

Thursday, 3 March 2011

March Classes - the technique project

Hello Everyone

Each month one of the three projects I teach at my classes features a stamping technique. This month we are going to play with the brayer and the lovely Glossy White Cardstock that has appeared in the UK catalogue this year. I am really pleased to be able to teach this technique, because it works SO much better on the glossy cardstock.

I like to give some choice, so this month the ladies can choose from the two different designs, although the colour scheme will be the same. Here is the first option...


To make this card I brayered the card with several inks from Sahara Sand to Not Quite Navy to create the gradient. As my upline Amanda says, "don't be afraid of the Brayer", just ink it up will and go for it and you will be delighted with the results you can achieve.

The first choice uses the stamp set Hopeful Thoughts, the second option was made with Just Believe. Here is the panel I made as the example.


Sometimes I make a further example to show the ladies some other ideas of what they can create using the technique I am teaching and this month I did two. Here is a sneak peak - pop back here in a couple of days to see them in full.