Hello Everyone
I have had a few requests for a Scrapbook Mini-book Class, so ran one for 6 special ladies earlier this month. We made three little mini books, suitable for different occasions. In fact this class was so popular, I have to run it again for those that couldn't get a spot!
This is the room set up ready for everyone to arrive...
Inside the packs, which featured the fabby Elegant Soiree Designer Paper, were enough goodies to make all three mini books, with plenty of goodies to take home to do more craft projects. This is what was in each pack...
So do you want to see what we made....? We did three little mini albums for a range of occasions.
With the Royal wedding in mind, I though I would teach a wedding mini album. I designed this many, many years ago and updated it with some fabby Stampin' Up! stamps and pearls.
After unlacing the ribbon at the front the mini book unfolds....I love the paper lace and vellum layers...
Inside the mini book folds out to a 12" X 12" page with plenty of room for pictures and journalling. We used lots of stamps from Notably Ornate, Always Elegant and Baroque Motifs to create the panels.
Next we made a funky Top Note mini book. You will notice a colour theme here. The class included half a pack of Elegant Soiree designer paper, matching cardstock and pearls.
My lovely ladies could bring photos, or make up the mini books ready to add pictures and journalling later. We all had a go with the Big Shot and Top Note die, to make our chipboard, cardstock and designer paper pages - I love the way the Big Shot cuts through so many materials.
Inside we decorated those pages using punches and layers. You can see the Ornate Bloom stamp used as a background here.
So after a break for refreshments, we were back to make our final mini book - this time a pull out book, (similar to those we used to be taught to make with toilet rolls - so much nicer to do with card stock! LOL)
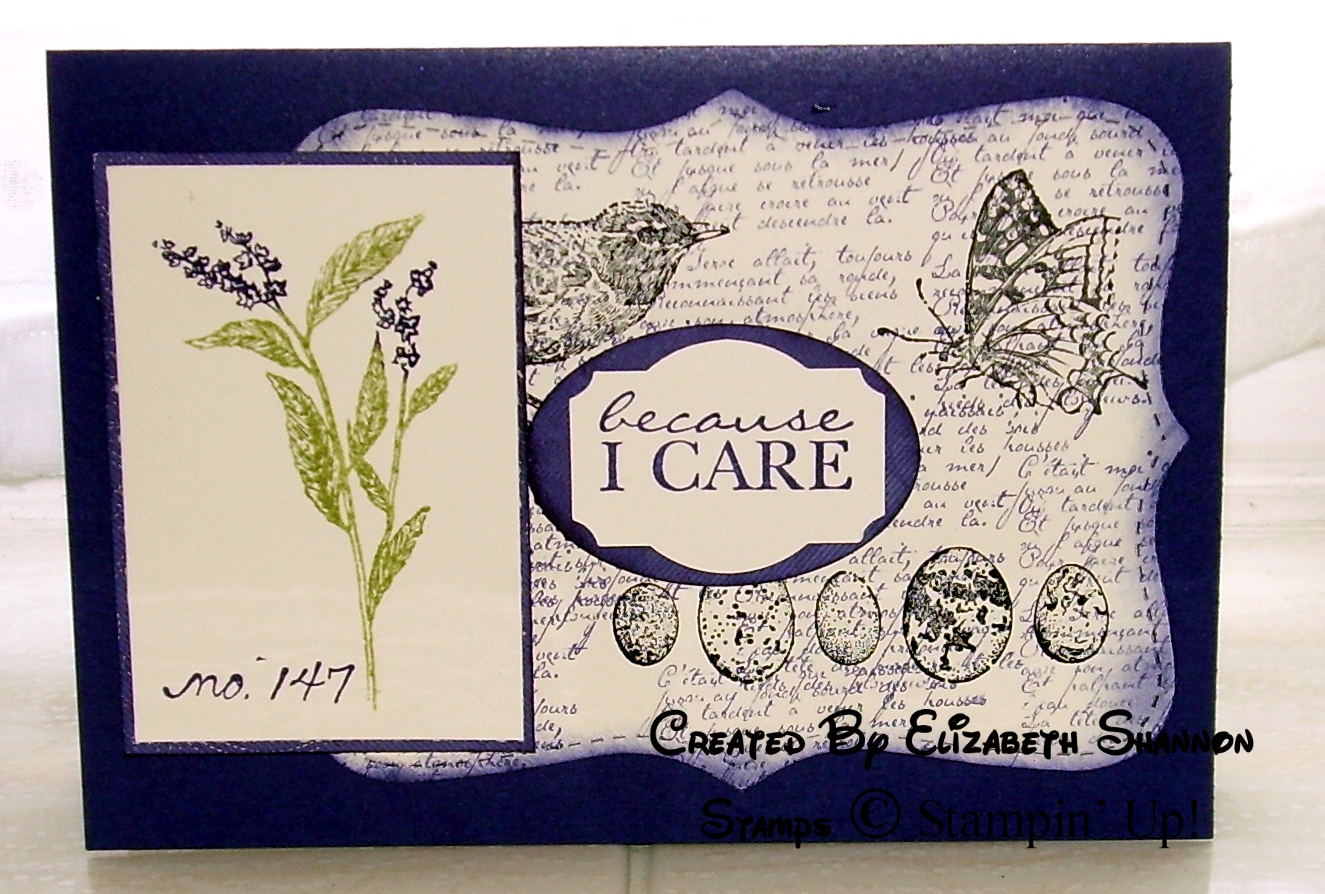
The front panel here is made with a mixture of punches and one of the Lots of Tags dies, made with the Big Shot. Inside is stamped with images from the Nature Walk stamp set - this would make a lovely summery album.
As you can see, Diana, Jan O, Jan S, Sophie, Rita and Sara had a great day - I hope you like our mini books.
We have more 'special' classes coming up shortly-
let me know if you would like to come along.