Hello Everyone
Now I know everyone is showing you Christmas stuff right now - but I still have two Flower Patch projects to show you!
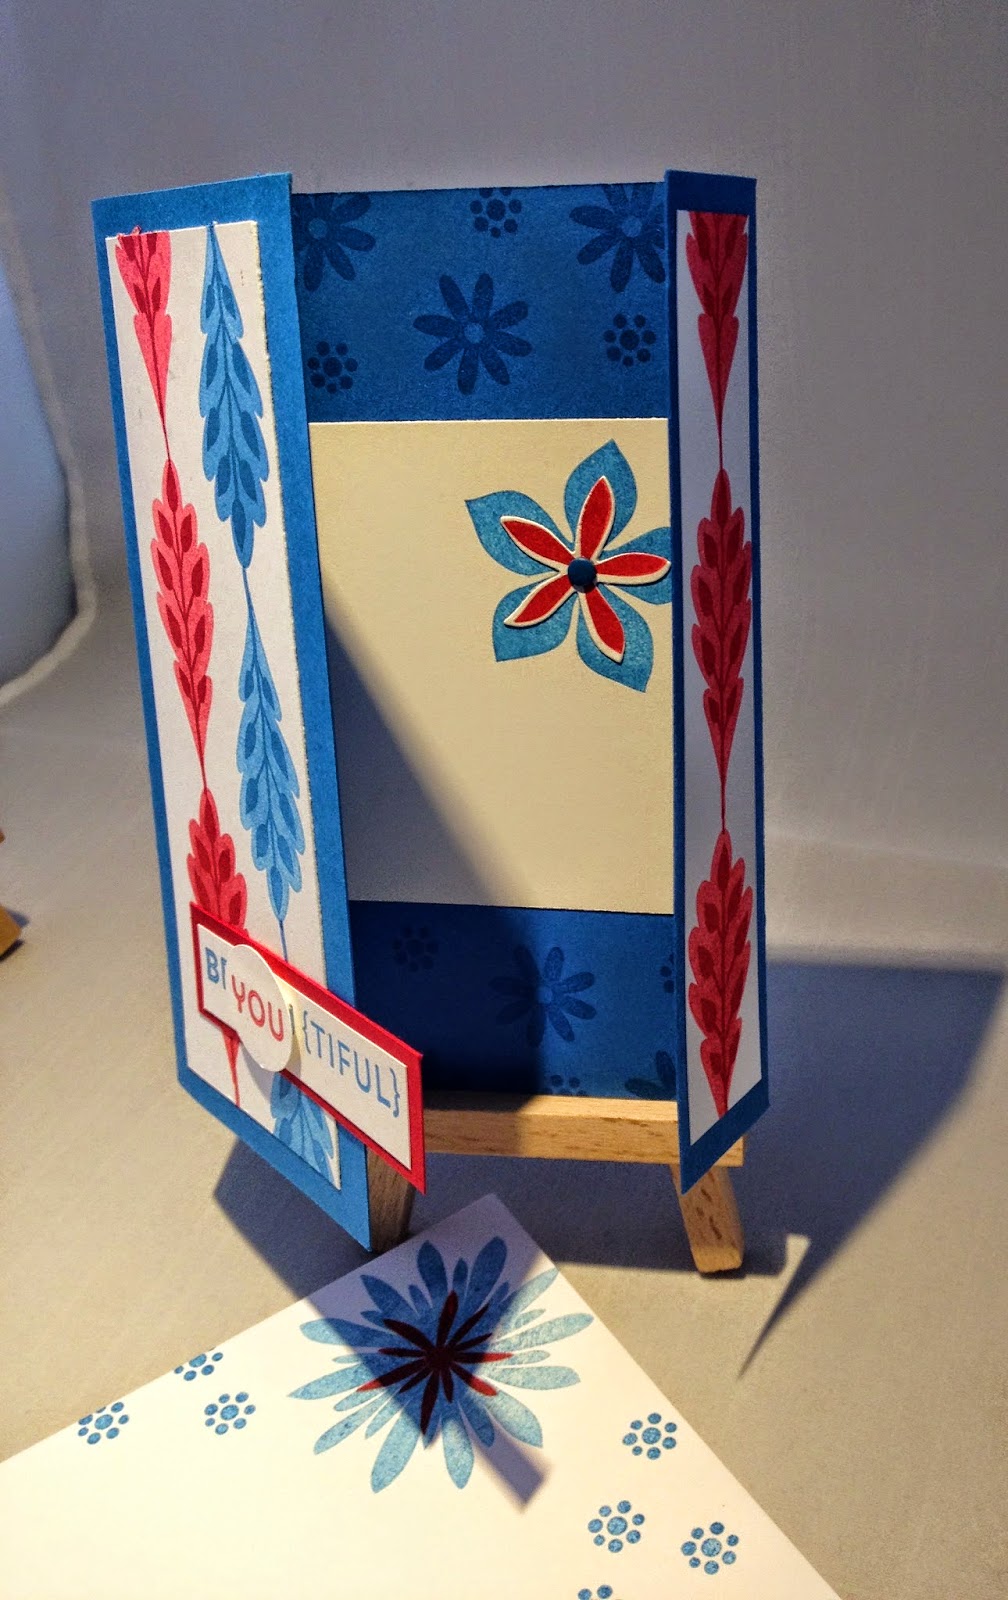
How cute is this one ?
I used the leaf stamps and layered them with the same colours, (Real Red and Pacific Point). I just stamped off to create the background leaf and stamped the internal design without stamping off.
I did a fancy fold too, Just scoring an inch or so from the right side and then folding the left hand side to match up in the middle. I find that is easier than measuring!
And this one is my favourite - love how easy it is to do the two step stamping and I was so happy with how this colour combination came out. Soft Sky and Pool Party, Wild Wasabi and Mossy Meadow and Blackberry Bliss and Hello Honey.
I am back with some festive planning on Tuesday - I have a treat box video for you. :)
Love Elizabeth X