Sunday, 29 May 2011

More Mini Milk Cartons

Hello Everyone

Just a quick post today to share a couple of cute Mini Milk cartons made using the Big Shot die. I found lots of little images to decorate them. I started with the new Itty Bitty Bits from the mini catalogue and then added the mushrooms from Funky Four and cup cakes from Crazy for Cupcakes.


Hope you like these little boxes. Back in a couple of days with more!

Thursday, 26 May 2011

Embossed Embedded Bird

Hello Everyone

I have another demo that I did at my recent party today. This time it is the Embossed Embedded technique that has been very popular recently. As you know, the Big Shot is our new Big Toy - sorry I mean vital tool, for any husbands that might be reading! LOL

I started with cutting a Top Note shape in Very Vanilla and punching the Bird with the Two Step Bird punch in Rich Razzleberry. I adhered the bird to the top note using Tombow glue and then popped the panel in the Square Lattice embossing folder and ran it through the Big Shot.


When it comes out it appears the bird is embedded within the Top Note - it is super effective with this particular folder isn't it?

I finished the card with a one of the 5 labels you get in the Lots of Tags die pack, the large oval punch and some layered Seam Binding and 1/4" Grossgrain ribbon.

Hope you like...

Monday, 23 May 2011

Emerging Colour

Hello Everyone

Today I am sharing a technique I demonstrated at my Customer Thank You Party. It is something that works really will with the glossy cardstock although the sample below was made with Whisper White card.

I started by stamping images from Artistic Etchings onto the white card. Next I inked up the Medallion background stamp with Versamark ink and stamped over the top of the coloured imanges.

I covered the card in Clear Embossing Powder and heat set the Medallion image. 


Next I applied Chocolate Chip ink with a brayer over the whole white card, wiping the excess off the embossed area with a tissue - and hey presto! - the Artistic Etchings images show through where the clear Medallion.

I enjoyed showing this technique - is it something you have tried?

Thursday, 19 May 2011

Jolly in July.....in May!

Hello Everyone

I know, I know - what AM I talking about Christmas for in May?!

Well, last year I ran a special Christmas class in September, which was very popular, but this year we are starting even earlier, with a Jolly in July Christmas Class.

I showed my ladies samples at my recent party, so I thought I would show you today!


We will be making a large box, a stacking box-of-boxes, three luxury cards and five tags. Each class pack will contain £15 worth of Stampin' Up goodies and there will be paper and ribbon to take home to make more festive creations. We are using Jolly Holiday DSP - hence the Jolly in July! LOL

You can see in the picture below the contents of the pack you will be getting, (on the right), and that box of boxes when it is closed up. It got a big WOW! at the party when I showed how it worked. (You can also see that one of the tags had fallen down behind the envelopes - see if you can spot which one :) )


The cost of the class is £30 and will run for 5 hours on Saturday 2nd July. If you are local and would like to come along, contact me. Final payments must be made by 1st June.

I will show the projects in more detail in July.

Monday, 16 May 2011

Party Time!

Hello Everyone

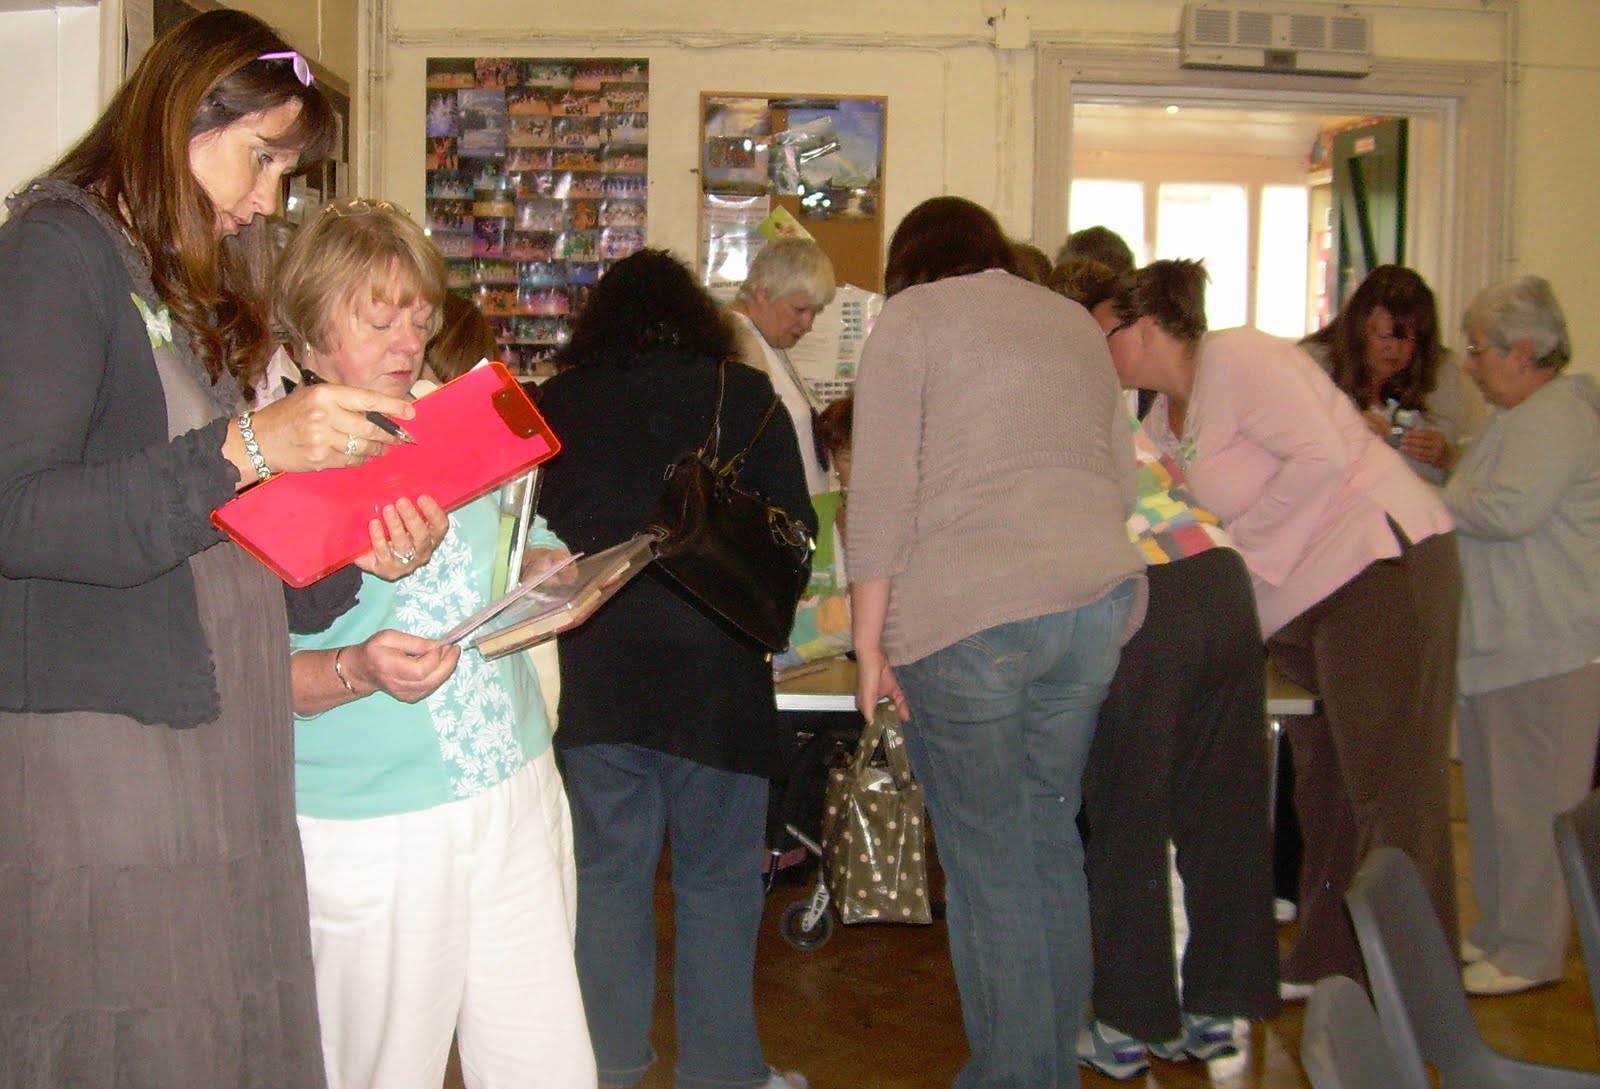
Well we had a wonderful time at my annual Customer Thank You Party on Saturday. 28 lovely ladies came along for a few hours of crafting and cake. So as promised here are some photos of my displays and the party itself.

This year I hired a local church hall - my lovely husband Mike and I spent 2 hours turning it from it's regular incarnation as a nursery into a crafters paradise - well almost! LOL

Here is the main display area...


...and here is my demo table...


....I had a sign-up station for my upcoming 'Jolly in July' Christmas class - let me know if you want to come along...


...and I did a one-day-only product share and a raffle too - as well as Stampin' Up! prizes, two of my lovely class ladies, Jan & Rachel donated vouchers for their beauty salon businesses...


... this is my lovely sister Maria ready to give out goody packs and butterfly name pins - she was one of my three helpers for the day. She is a scientist not a crafter and did a much better job than I could have done organising the raffle money and pre-loved sale money. Thank you Maria...


...talking of helpers, I should also mention my lovely downline Nina, who helped everyone with their Big Shot make and takes and importantly took all these photos - without her I would have nothing to show you! And as I said DH Mike also worked hard - helping me with the set up - devising a complicated system for keeping paper table cloths on the little tables, which involved pegs and string LOL - and doing all the teas and coffees and LOTS of washing up. Bless him!...


....now I didn't take photos of the cakes, so unless Maria sends me some I will just have to tell you that I made Mini Carrot Cakes, delicious Granola Squares, Key Lime Cheesecake and Nina made melt-in-the-mouth brownies.

So here I am welcoming everyone - I did several demos during the party...


...here I am showing how to make clouds with a scallop circle mask...


...at exactly 11.30 Maria & I unveiled the pre-loved sales table, it was just as popular as last year - Mike looked out of the kitchen to see the excitement in progress...


... here I am demonstrating my beloved Big Shot LOL.....


...and here is one of the two make and take tables...


...there was viewing of the display boards - and yes I know I make too much, but that Big Shot has made me so creative - also many thanks to Teri Pocock for being such an inspiration at team training - and there are a few swaps there too...


... and there was glass glitter...


For those of my customers who didn't make it, I will be posting lots of the projects over upcoming weeks, (and months - I did make a lot LOL!). I will leave you with a final look at those projects....


I hope you have enjoyed your visit - thank you again to all the lovely ladies who came along and see you all soon.


Saturday, 14 May 2011

Today is the day...

Hello Everyone

Well today I am holding my Customer Thank You party - but with the magic of scheduling I am here with you too!

This was the second project we made during our May classes - using the Big Shot and the fabby Pillow Box die to create a little box in moments.


We used the wonderful Cath Kidston-like designer paper called Springtime Vintage. Like many papers it didn't look too inspiring in the catalouge image, but is simply fabulous in real life. I used an off-cut strip of the reverse of the DSP to create an accent.

I used the Four Frames swirly label stamp and punched it with the Modern Label punch to get a different effect.

We also did the ravelled ribbon effect using Crumb Cake Seam Binding ribbon. This ribbon is not what we in the UK would call seam binding. I was expecting something heavy and industrial - instead it is light, easy to tie and shines. Love it! A final rhinestone finished a really cute little project.

Hopefully, if I remember to take photos, I will be back with pics of my Customer Thank You party in a couple of days. X

Friday, 13 May 2011

May Class Watercolouring

Hello Everyone

With just a few days until my Customer Thank You Party, I am rushed off my feet making samples and planning the goodies I am going to bake for my lovely ladies.

I am just pausing to show you one of our May class projects.

Sometimes you see a stamp set and just KNOW you have to own it. As some of you know, as a demo you can earn free stamp sets, (ask me how if you don't know). I had earned a couple and was allowed to order them from the middle of March- but I just couldn't wait - I had to have this one straight away!

It is called Nature Walk and can be found in the Mini Catalogue.


The bontanical images work well in so many colours, but I chose a spring pallet of Pretty in Pink, Garden Green, River Rock on Sahara Sand cardstock.

As I have said before, watercolouring is not my strong suit, but with a blender pen and aqua painter in hand I had a play! The image on the right is actually done with the marker direct to stamp technqiue.

The tag is cut with the new Decorative Label punch - which I am loving - such a great shape and a good size. It goes with the Four Frames stamp set too, (see below).


As you can see they have four different designs, each very different. Can't you see the bird one done as a robin come December?

OK - back to the party planning. Back in a couple of days with another project.