Showing posts with label Buttons. Show all posts

Monday, 28 March 2016

VIDEO World Traveller Card and Treasure Map .

On today's video, I am sharing a card and 3D project made with the World Traveller Embossing Folder, Traveller stamp set and the Going Places paper stack.


Hope you enjoy the video!


Love Elizabeth X

Product List

Friday, 26 June 2015

Awesomely Artistic Stamp Set

Hello Everyone

When I first saw the new catalogue from Stampin' Up! one of the sets that jumped off the page at me was this one - Awesomely Artisic. Firstly I could see at a glance it would work perfectly with one of my all time favourites, Gorgeous Grunge - but it was also such a versatile set with delicate images for any occasion.


I love the dragonfly image - the mini grunge spots - the hessian type edge stamp and in fact each and every stamp in the set. Even though I am NOT Awesomely Artistic - this set makes me look as though I am!

I finished this card with a button and some lined thread. If you don't already have a catalogue you can pop to my online shop and check out the rest of the images here.  (Just look under products / stamps for Awesomely Artistic).


Love Elizabeth X
Product List
139950s
127555s
104199s

Links by TheseAreMyStamps.com

Tuesday, 19 November 2013

VIDEO Festive Flurry Ornament

Hello Everyone

Have you see the Festive Flurry ornaments in the Autumn/Winter catalogue. I loved them, but didn't know how they had been put together. I had a play and came up with this video to show you how I made mine.


A close up for you...


So - are you off to make your own decorations now? :)

Love Elizabeth X

Saturday, 20 July 2013

Joy in July - Inspired by Nina


Hello Everyone

Today I am continuing my series on shoebox swap projects that inspired me to create. (Scroll down a few posts to see some more).

Today's inspiration was from my lovely friend and downline Nina C. She came up with a beautiful way to use the Mosaic punch to create a Christmas Ornament. I loved it and decided to 'hang' it on a card using a Vintage Faceted button and Large Pearl. I also loved Nina's colour theme of Strawberry Slush - I adore non-traditional Christmas colours.


So that was it - Nina sent me off in a frenzy of festive creation!

I started with using that same Mosaic punch to made pop out baubles. I have taught this techinque using the now-retired Ornament punch - but wanted to see if it would work with the Mosaic - and it did!


I used the fir tree from Lovely as a Tree to create the branch. I hand drew the strings and bows and hung my mini Mosaic ornaments from them.

I did them in the same DSP as Nina used, (Quatrefancy), as well as some Champagne glimmer paper. You just punch three shapes, fold them in half and glue them back to back to create the shape. Finally glue them on to the card front.

The 'merry' greeting comes from Petite Pennants and I layered up a stamped layer from Label Love and another Mosaic shape to build the greeting up.

But I didn't stop there - I was on a roll. What more fabulous festivity can I bring to your July?


This card once again featured that Quadrefancy DSP. This time I did flat Mosaic shapes as baubles and then punched little baubles with the Merry Mini's punch pack.

The NOEL greeting was stamped using the new Sketch Alphabet & Numbers stamp set.

I hand drew a twisted wire to hang them on and attached them with Dimensionals to make them pop.

So thank you Nina for your inspiration and for this little Festive interlude in July!

Love Elizabeth X

Tuesday, 15 January 2013

VIDEO Apothecary Accents Card

Hello Everyone

Today I am sharing a video on the card below - and giving you another Sale-A-Bration sneak peek.


If you haven't done so already - now is the time to book in for a Sale-A-Bration workshop. Hostesses are going to recieve more than ever during Sale-A-Bration this year - so get your date in my diary!

Back soon with more...

Love Elizabeth X

Sunday, 25 November 2012

Clockworks Cards

Hello Everyone

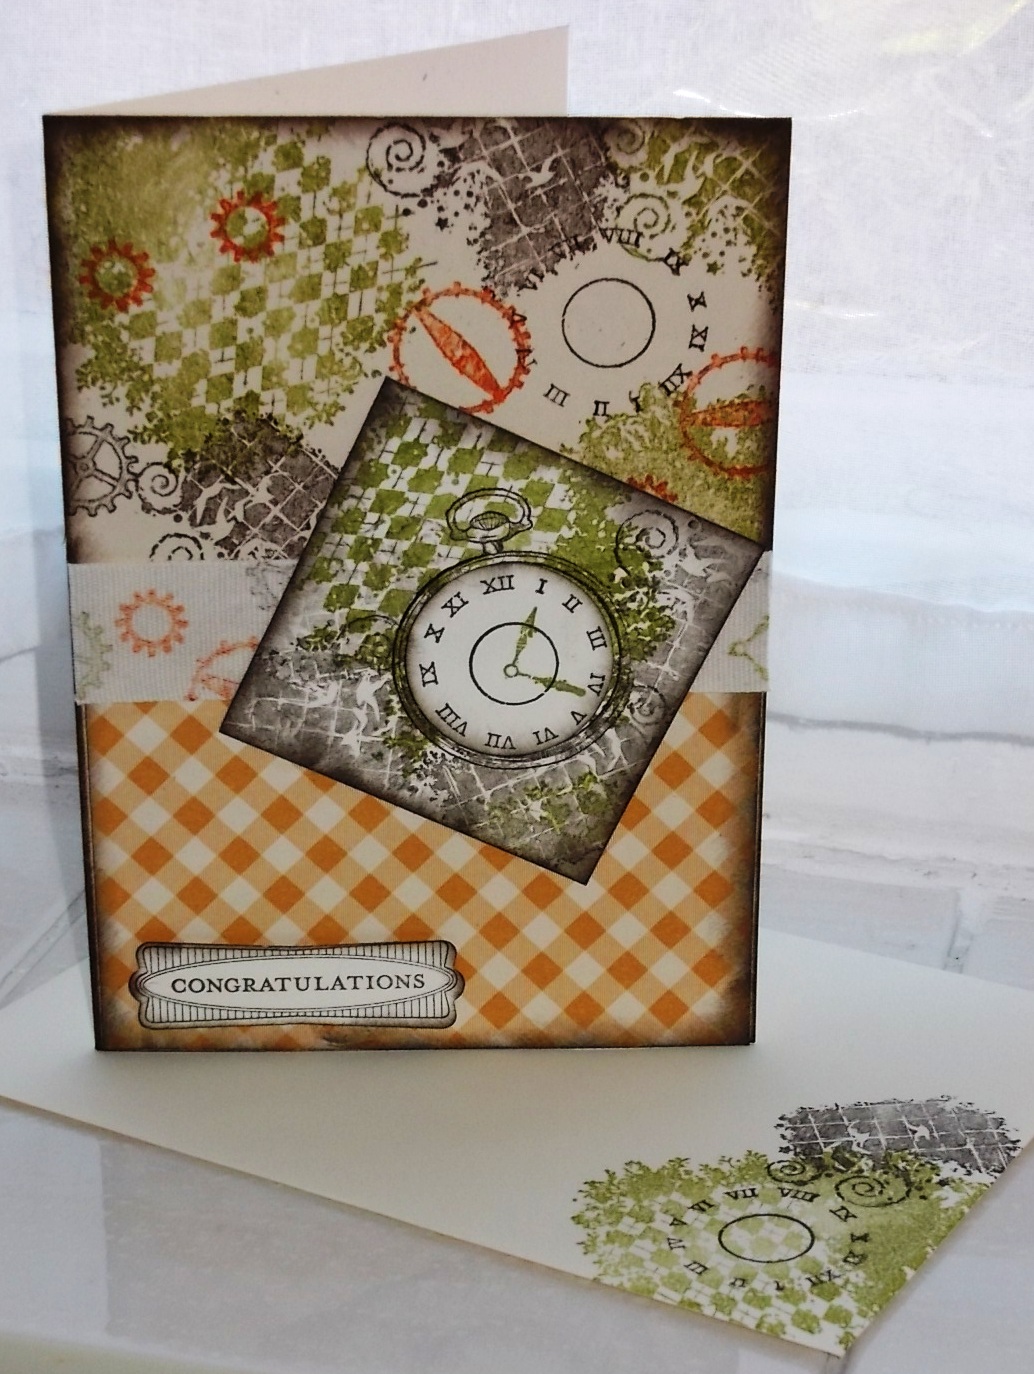
Two quick cards today, both made using one of my favourite stamp sets from the new big Catalogue - Clockworks.

This one was designed from elements that were supposed to be for a scrapbook page. I had fun stamping on all the little cardstock flags.


This next one was inspired by the Colour Coach - a fabby tool that gives you great colour combinations that you may not have thought of.

The DSP is from the Patio Party pack and the Primrose Petal carstock is stamped with Raspberry Ripple and Basic Grey ink.

Hope you like today's projects

Love Elizabeth X

Saturday, 3 November 2012

Ssshhhh - I've got a secret!

Hello Everyone

Well if you are reading this on Saturday 3rd November, I will have left my lovely DH at home and gone off to European Stampin' Up! Convention in Mainz, Germany.

I will be posting some pictures when I get home. I am a proud Stampin' Up! Mummy as, for the first time, I am taking all 5 of my team with me. How exciting.

Now here is a secret I have been keeping.....I have been asked to present at convention for a second year! I am SO honoured to be asked although still nervous. Keep your fingers crossed for me!

Anyway, enough of the chat and on with the projects...!

Clockworks was a stamp set that was high on my wish list when I saw the new Stampin' Up! catalogue. I could see at once it would make some great man cards - always tricky for me.

Here I used Old Olive, Early Espresso and Tangerine Tango ink and did some random stamping. I also stamped on the cotton ribbon to create a central border. The Designer Paper is from the Orchard Harvest set, which is in the Autumn/Winter catalogue.

The watch face fits perfectly with the 1 3/4" circle punch, so popping up the face is easy.


Now just to show that this stamp set works for us girls too - here is a feminie version of the card. The paper this time comes from the Patio Party and the ink colours I have used are Primrose Petals, Summer Starfruit and Basic Grey.

The greeting is from Curly Cute and don't you just love the new Vintage Faceted Designer Button on this one?


I hope you liked today's projects. I will be back from Mainz next week, with news and photos from Convention. See you then!

Love Elizabeth X


Saturday, 23 July 2011

Quick Daisy Card

Hello Everyone

Just a quick post and a quick card today, made with the Daisies #2 die and some buttons.  The background is a piece of the beautiful Elegant Soiree paper. I layered up the middle of the flowers with punched circles and buttons - that big one is from one of the sets in the mini catalogue - they are SO big you can thread 1/4" ribbon through them as I have here.


I finished with the greeting stamped with Curly Cute and the little cake from Itty Bitty Bits.

Back soon with more projects.

Monday, 24 January 2011

Buttons and Hearts

Hello Everyone

Today I am sharing a little gift I made for some special people at Christmas time. My inspiration was a heart that I bought from Michelle and Jane, (they of the shabby chic altered box a few posts down).

I made my hearts with jewellery wire and Stampin' Up ribbon and made some cute card packaging to give them in.


I used buttons from my family button tin, which means some of those buttons were on my childhood clothes, some on my Mum's, some from my Grandmothers and a few from my Great Grandmother.

Here they are all hung out...


...and here are the matching packages made with Stampin' Up! designer paper and punches...


Back in a couple of days with more SaleABration projects. Hope you liked the hearts.