Saturday 28 February 2015

Getting set for an EGG-cellent Easter

Hello Everyone

Today I am sharing a sweet Easter card made with the For Peeps Sake stamp set from Stampin' Up! This is one of three new Easter stamp sets in the Spring Summer catalogue from Stampin' Up!

I used the Marker to Stamp Technique on the three little chicks and I love the little mini eggs as used as a background on the card.


I hope you like this card - go and check out the other Easter choices 'Indescribable Gift' and 'Happy Easter Bunny' in the catalogue.

Love Elizabeth X
Parties? Classes? Want to become a demonstrator? 
If you have any questions - please contact me - I am here to help.

Tuesday 24 February 2015

VIDEO Elizabeth's Dream Craft Room Tour - parts 2 & 3

Hello Everyone

Well as promised last week - here are some more videos and pictures from my new dream craft room. I am really enjoying working in such an amazing space. Let me know if you have any questions. Scroll to the bottom of this post for the two videos.

If you missed it - part 1 of the video is here.

If you want to fund your own dream craft room - or just add a little to your family finances - why not join my team as a Stampin' Up! demonstrator. If you are in any of our European markets you can be a Dazzling Dreamer and get great Stampin' Up! discounts and have a business that works around your own commitments and dreams. Contact me if you want to have a chat about it.

Stamp storage drawer number 1. I use the coloured discs to help me quickly find particular types of stamp.


Miscellaneous tools including a brayer and hand punches, aqua painters and sanders. I also have pre-cut cardstock and cards in various colours.


My Big Shot storage cupboard. I have dies, framelits and embossing folders in here.


Heat embossing tools, powders and glitters live in here with a couple of tidy trays to keep everything neat.


Basic stationery drawer which also holds my cameras and the ever needed wipes to keep my work surface clean.


Duplicate markers and ink pads, sponges and daubers for classes, washi tape and other accessories.


This is a pampered chef revolving tool holder that is perfect for my small punches.


My second stamp drawer. Also holding my re-inkers. I put card dots on the top of the lids to help me find the right one.


Full cardstock sheets and packs, sorted by colour family.


Various special papers, mostly 12x12.


Class planning cupboard. This enables me to plan a month ahead for classes and workshops so I am always well prepared. I cut and prepare the projects as I design them. When the classes come around, I use the list in the top of each box and put the required punches, inks, dies and other tools in the box.


DREAM CRAFT ROOM VIDEO PART 2


DREAM CRAFT ROOM VIDEO PART 3


So I really hope you have enjoyed having a look around my dream craft room. I am sure there will be some more storage tweaks as I get used to my new space - but one thing is for sure, I will enjoy my space each and every day.

Happy stamping.

Love Elizabeth X

Sunday 22 February 2015

Special Class coming soon

Hello Everyone

Today I am offering you a sneak peek of my upcoming special class called Vintage Springtime. There are three 3D projects a lidded trinket box, a springtime basket and a butterfly treat bag.


We are also making three co-ordinating cards.


The class costs £28 and for this you will receive half a pack of the Something Borrowed designer series paper, a a full Artisan Embellishments kit, plus all the other supplies you need to make the projects (value over £15). There will be plenty of paper and embellishments to take home too!

The class is at my studio in Southampton, England and will be running on the evening of Tuesday 28th April and the morning of Wednesday 29th April. Places will be limited, so if you would like to book your place contact me soon.


Love Elizabeth X

Saturday 21 February 2015

'Thumping' the Sheltering Tree

Hello Everyone

In case you are thinking I am a bit mean to thump a tree or wonder if it is a Whomping Willow Harry Potter reference - think again! :)

Thumping is a technique for adding multiple colours to a stamp. I have used it here with the Spring, Summer and Autumn trees.

What I did was to start by stamping the trunk and branches of the tree. Then with the leaves stamp I inked up in Pistashio Pudding then taking the brush end of a Blushing Bride marker you 'thump' the SIDE of the marker on to the stamp - NOT the tip or it will smush your marker! You can repeat with other colours and end up with the pretty mixed leaf effect you see below.


The stamp set I have used is called Sheltering Tree and is in the new Spring Summer Catalogue from Stampin' Up!

Hope you like the cards.

Love Elizabeth X

Monday 16 February 2015

VIDEO Dream Elizabeth's Craft Room Tour - part 1

Hello Everyone

OVERWHELMED - BLESSED - EXCITED - BEYOND HAPPY! Yes I am jumping up and down with joy and can't wait to share my new Dream Elizabeth's Craft Room with you.

I have three videos lined up - one today and two more next Tuesday. And lots and lots of pictures too.

I have been dreaming about this craft room for years - and finally - with the income I have earned from being a Stampin' Up! demonstrator my dreams have come true. My lovely, talented downline Carolyn and her company Zentrum Fitted Kitchens designed and created me the perfect space in which to be a full time stamper. I just can't thank her enough.

SO - tell me what you think - and let me know if you have any questions. I would love to hear from you.


The overhead view as originally envisioned by Carolyn - we tweaked the design with more open units and more work space by the time we finished.

Those all important measurements - I am glad Carolyn was the one making them! The plan below shows that when we were designing this room, I was still working full time doing a day job and only part time as a stamper - now I am glad to say that where it says 'clients day job desk' you can now scrub that out and say Full Time Stamper desk! Love it.


Fantastic Stamp n Storage units. I have the smaller punch one the 60 ink pad and marker one, the blendies one and the ribbon storage. Love love love them!


This is how I store my scraps - plastic file folders for each colour, sorted by colour family. It means I never cut into a new sheet unless I really need to. The files are from Ikea.


Clear blocks stored in buckets.


 My dauber storage. I made it from acrylic lipstick stands. I love how pretty they look on my desk.


This is my main work space with my most used tools to hand. I am SO lucky to have so much space to spread out now. Surely I won't be able to fill all this? LOL 


Close up of the ribbon storage. It is very flexible - as you can see I have bakers twine and other items stored in there.

Close up of the ink pad storage. I have each colour family in one column and then my additional inks like memento and stazon at the top.

New style punch storage. I have a few duplicates in there so I still have room for more!


Display area. 


My main desk for paperwork, blogging, video editing etc. I like to stand to stamp, so this is the only area at a lower level for me to sit and work.


At the end of my desk are rails for my old style punches - they still work beautifully!


Below I have made myself and inspiration/organisation board using the Hello Life Project Life kit from the spring summer catalogue. (Page 6 - £22.95). 
I have changed it up a bit to add some of my favourite sayings and also some Bermuda Bay colour to my room. I also made weekday pegs to attach notes for things I need to remember. 


So I couldn't finish better than to quote my favourite Walt Disney saying - and the reason my team are called the Dazzling Dreamers

If you can dream it - you can do it! 

Love Elizabeth X
p.s. back next tuesday with a peek inside the drawers and cupboards and lots more pictures….

Saturday 14 February 2015

I know - I know - I can't leave it alone….. :)

Hello Everyone - and Happy Valentines Day!

Really Elizabeth? ANOTHER Butterfly Basics card?

Yes it is :) You can't say I don't know what I like! The thing is that usually when I make samples with a stamp set, I stop after making 6 or so - but this time I couldn't put it down…so don't expect this butterfly overload to finish any time soon - and remember other stamp sets are available. LOL!

Here I started with a Crisp Cantaloupe base card and embossed it using the Spring Flowers embossing folder. The layers are in Whisper White and Sahara Sand. I stamped, coloured and layered and finished with Baked Brown Sugar and Crisp Cantaloupe Thick Bakers Twine. Love it!


Love Elizabeth X

Tuesday 10 February 2015

VIDEO A colour change makes all the difference….

Hello Everyone

Today's video shows how just a little change of colour and DSP can change the look of a card dramatically…. enjoy


Love Elizabeth X

Saturday 7 February 2015

Vellum Lined Treat Bag

Hello Everyone

This project was something we made during my January classes. We used the Mini Treat Bag Thinlit dies and cut a bag out of Best Day Ever designer paper. We cut apetures in the front using the large star and rows of stars. We then lined the front of the treat bag with Vellum Cardstock before assembling. We finished the project with ribbon from the Best Day Ever collection and the greeting is cut from the same Thinlet set.


I am loving making these cute treat bags. They looked so good in class with all the different colour combinations.

Love Elizabeth X

Tuesday 3 February 2015

VIDEO Brayered Butterfly

Hello Everyone

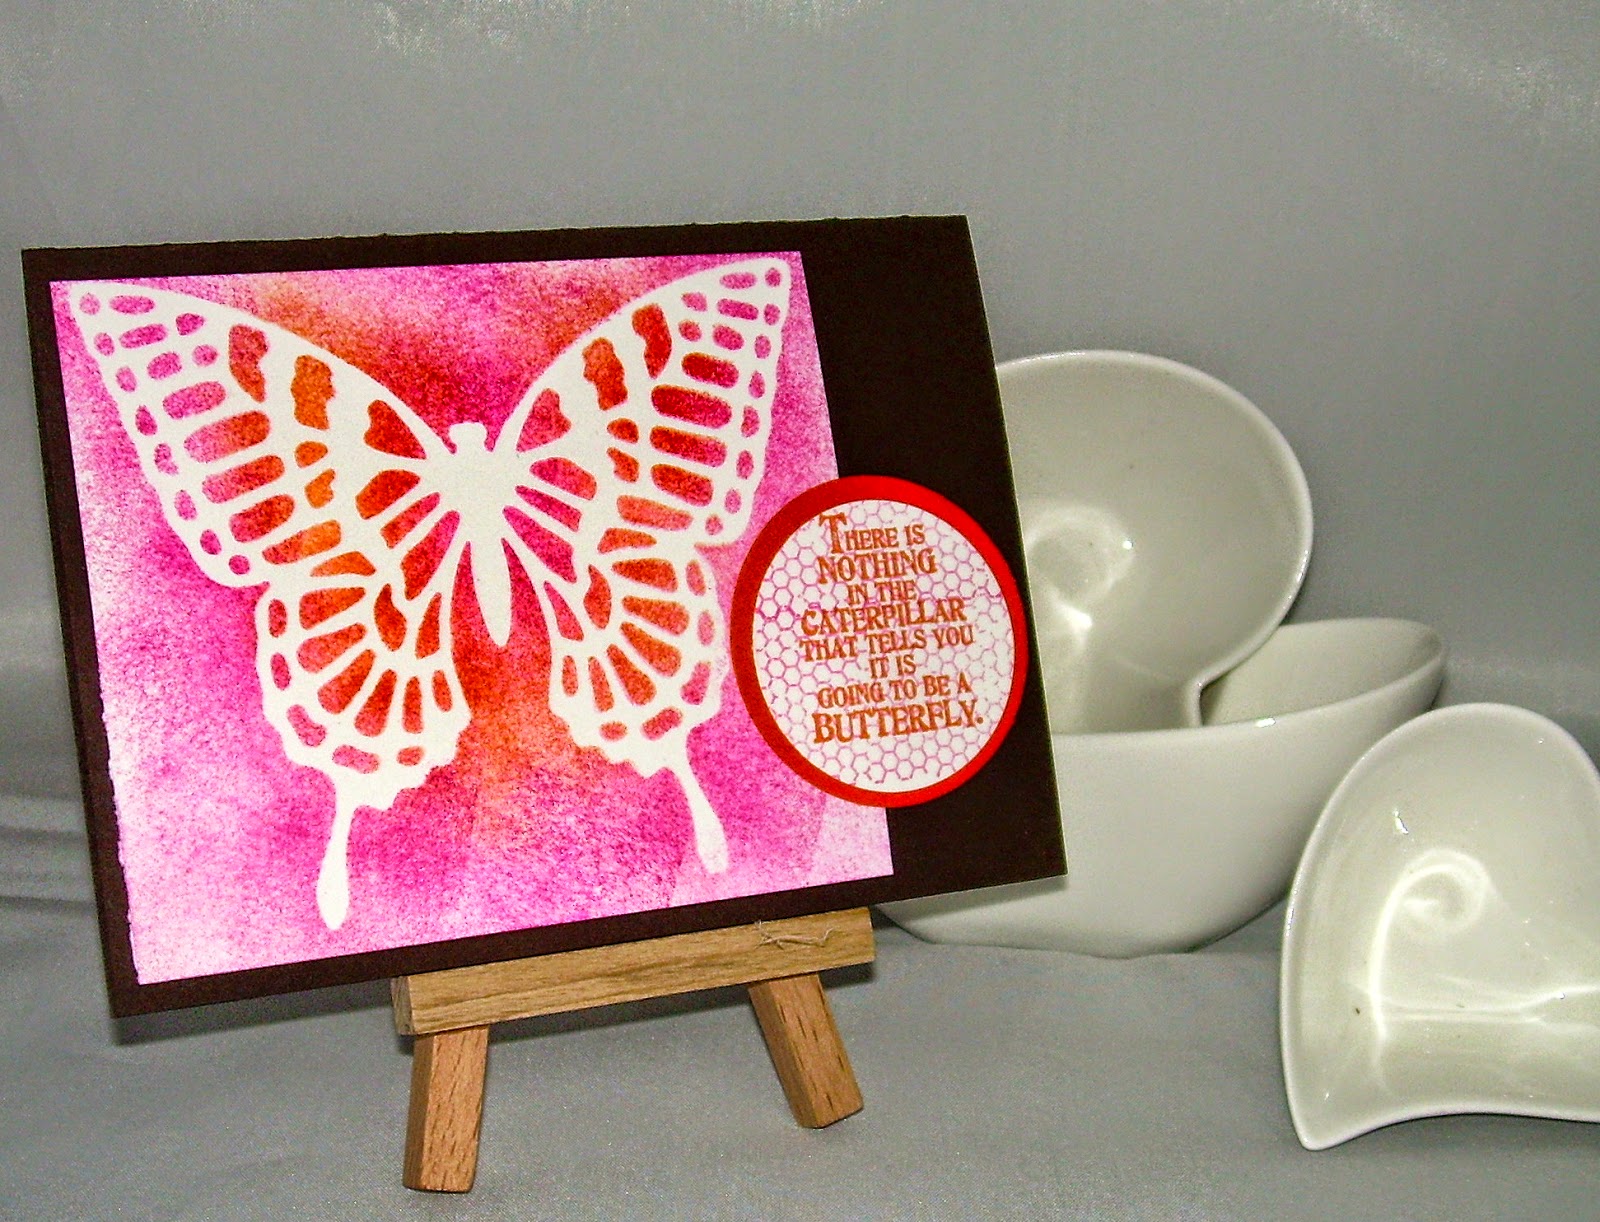
Today's video shows how you can achieve this multi-tonal effect on the large butterfly from the Butterflies Framelits dies. While I was making this video, I decided I had to use the baking parchment butterfly I had cut - so scroll down to see what I did with it...


This is what I made with the baking parchment butterfly. I laid it on Whisper White and using it as a mask, I sponged over in Tangerine Tango and Melon Mambo ink. I loved how it came out :)


The motto of this creation is….crafters should never throw anything away!

Love Elizabeth X
Parties? Classes? Want to become a demonstrator? 
If you have any questions - please contact me - I am here to help.